printing technique
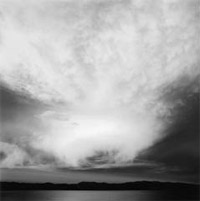
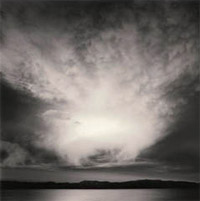
| Cloud, Lake Tahoe, CA 2001
This negative was made with a red filter in the late afternoon. Upon seeing the contact print, I knew all I had to do was balance out the tones to realize my vision of that scene. The cloud is the focal point, so I wanted it to stand out. The foreground water was a bit too dark, the left side and top too light. I achieved the final result rather quickly, yet making 12 copies took a while because of the 3+ minute exposures. |
 |
|||||
 |
||||||
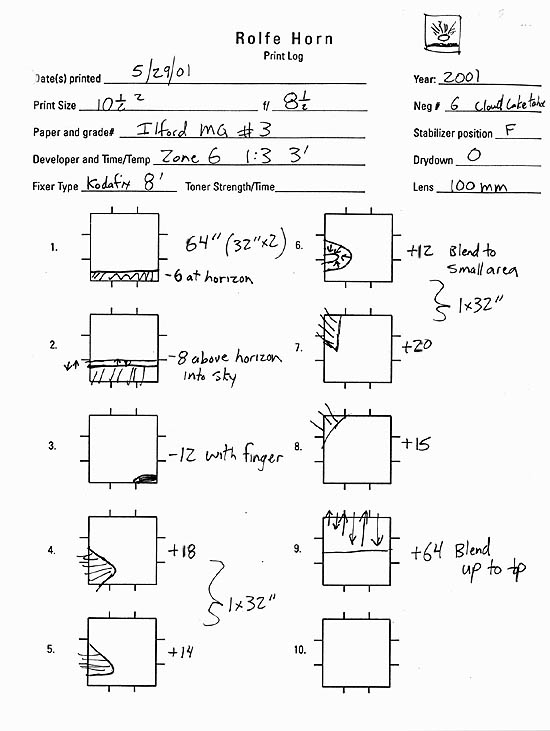
| This is how I record the steps to create the final photograph. The boxes are to note any manipulations, dodging, burning, or contrast changes. This sheet covers all the basics: date, cold light stabilizer position, type of paper, contrast grade, f-stop, paper drydown %, developer type and factor for development, focal length of the lens used, fixer type, the toner(s) used (dilution/duration) and, of course, the negative ID. If you can read my scribbled writing, you may get an idea of what it took to get the final image. If you don't understand any of it, don't worry, you can see the difference in the two images above. |
 |
|||||